
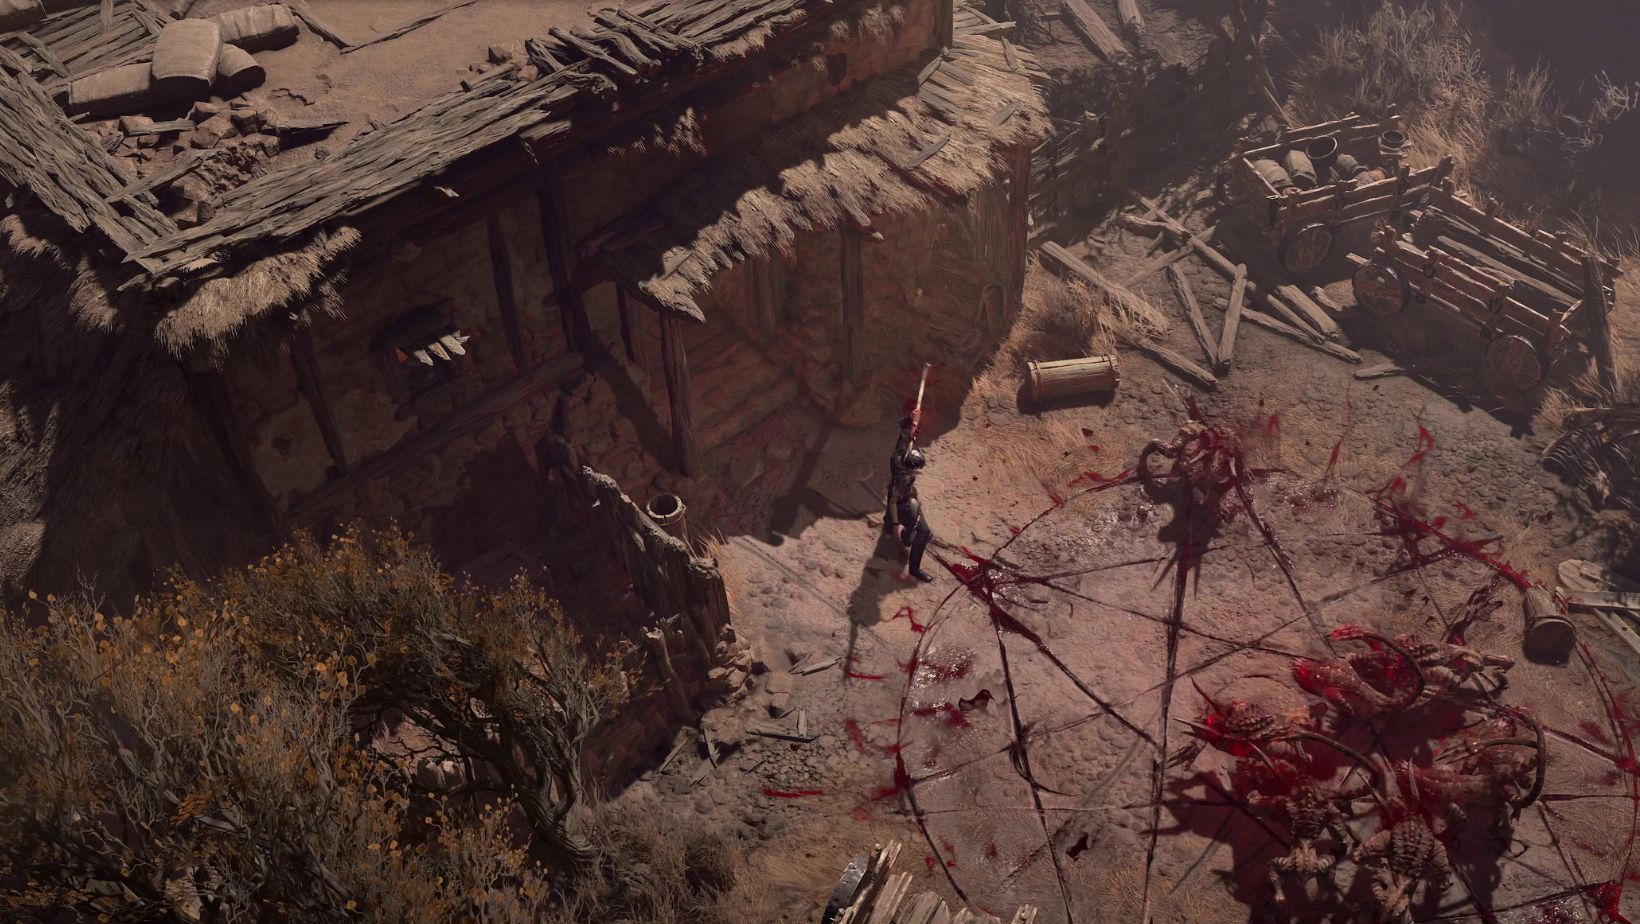
If you’re planning on becoming a fearsome melee demon slayer, then the Barbarian class should be perfect for you, especially if built as a damage-over-time (DOT) master specializing in Bleed ticks!
Essentially, your attacks will make your enemies Bleed for a few seconds, and this effect stacks.
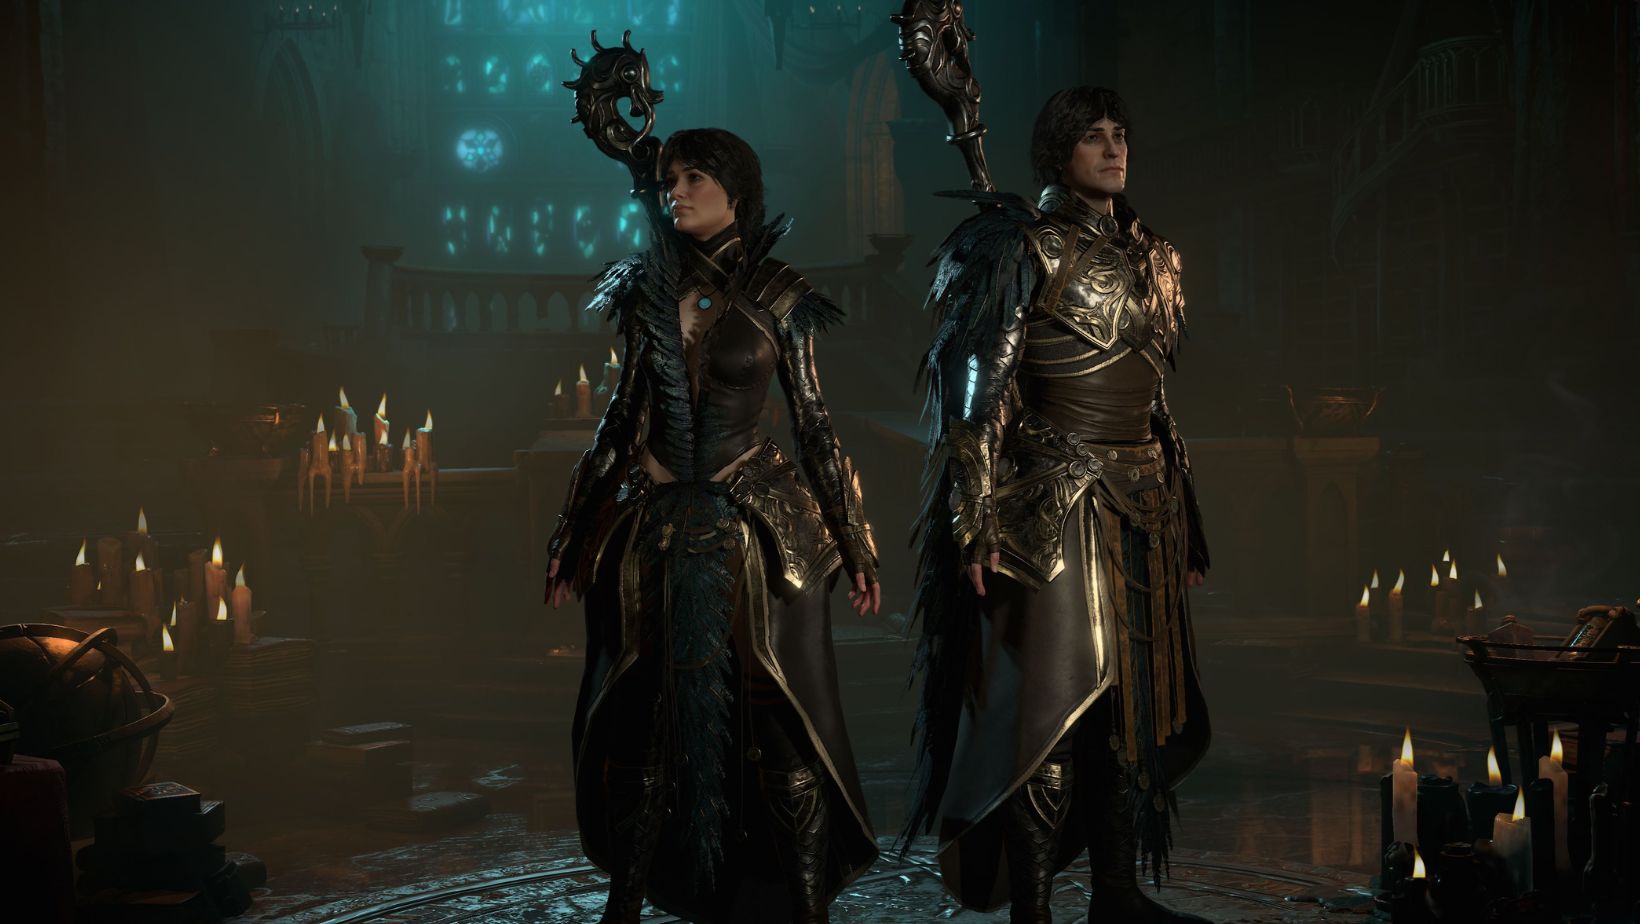
Home to the cheapest Diablo 4 Gold and Diablo 4 Items, you should always visit U7Buyto discover awesome deals and offers unlike anywhere else! Following the conclusion of Diablo 4’s Server Slam, a lot of players are now much more knowledgeable about the potential builds that they can make pertaining to their favorite character classes.
Obviously, you will be focusing on maximizing the Bleed stacks on enemies and then applying various skills that use those stacks to deal instantaneous, massive damage!
This can be done to a single target for unbelievable carnage or clear mobs as quickly as possible.
The two primary skills that are important for this build are Flay and Rend; the first is a basic attack that generates Fury while applying Bleed, and the other deals more Physical Damage and Bleed Damage but consumes Fury.
To get started, here are the skills that you should put points into upon leveling up:
Level 1
Flay
-
- Generates Fury: 9
- Lucky Hit Chance: 50%
- Deals 5% Damage (Physical, single)
- Inflicts 36% Bleeding Damage over 5 seconds
Level 2
Enhanced Flay
-
- Same as the basic Flay
- 10% chance of inflicting Vulnerable to an enemy, lasting 2 seconds (doubled when using a Two-Handed weapon)
Level 3
Rend
-
-
- Costs: 35 Fury
- Lucky Hit Chance: 33%
- Deals 12% Damage (Physical, multiple)
- Inflicts 96% Bleeding Damage over 5 seconds
-
Level 4
Enhanced Rend
-
-
- Same as Rend
- Extends affected enemies’ Vulnerable state by 2 seconds
-
Level 5
Violent Rend
-
-
- Same as Enhanced Rend
- Deals +12% Damage to Vulnerable enemies
-
Level 6
Battle Flay
-
-
- Same as Enhanced Flay
- Affected enemies take +10% Bleeding Damage for +3 seconds
-
Level 7
Rallying Cry
-
-
- [Self] +30% Movement Speed, +50% Resource Generation (6 seconds)
- [Allies] +30% Movement Speed, +50% Resource Generation (3 seconds)
-
Level 8
Enhanced Rallying Cry
-
-
- Same as Rallying Cry
- Grants Unstoppable while active (CC effects are nullified)
-
Level 9
Tactical Rallying Cry
-
-
- Same as Enhanced Rallying Cry
- Generates Fury: 25
- +50% Resource Generation
-
Level 10
Rend Lvl. 2
-
-
- Same as Violent Rend
- Improved Damage and effects
-
Level 11
Rend Lvl. 3
-
-
- Same as Violent Rend
- Improved Damage and effects
-
Level 12
Leap
-
-
- Cooldown: 17 seconds
- Lucky Hit Chance: 33%
- Deals 33% Damage (Physical)
- Knockbacks enemies upon impact
-
Level 13
Enhanced Leap
-
-
- Same as Leap
- -4 seconds on Cooldown if Leap doesn’t hit any enemy
-
Level 14
Power Leap
-
-
- Same as Enhanced Leap
- Generates Fury: 40 (if hit at least 1 enemy)
-
Level 15
Rend Lvl. 4
-
-
- Same as Violent Rend
- Improving Damage and Effects
-
Level 16
Rend Lvl. 5
-
-
- Same as Violent Rend
- Improving Damage and Effects
-
Level 17
Rupture
-
-
- Cooldown: 10 seconds
- Lucky Hit Chance: 50%
- Deals 13% Damage (Physical, multiple)
- Affected enemies receive full Bleeding Damage on the spot (Bleed removed)
-
Level 18
Enhanced Rupture
-
-
- Same as Rupture
- 30% Bleeding Damage over 5 seconds (Explosion)
-
Level 19
Warrior’s Rupture
-
-
- Same as Enhanced Rupture
- +20% Attack Speed for 4 seconds
-
Level 20
Flay Lvl. 2
-
-
- Same as Battle Flay
- Increased Damage and effects
-
Level 21
Flay Lvl. 3
-
-
- Same as Battle Flay
- Increased Damage and effects
-
Throughout Server Slam, you can only level up your character to a maximum of Level 20, so you’ll evidently only get nineteen (19) points to spend on skills.
To get the other two points, you will need to complete Tier 1 and Tier 3 of your Renown in Fractured Peaks.
Now, the general strategy of the build is to use the basic attack, Flay (and its advanced versions), to deal damage and generate Fury, inflicting minimal Bleed stacks on enemies.
Rend would then be used as soon as you get enough Fury to prompt it, dealing better damage while applying more devastating Bleed effects on affected enemies.
In terms of the damage cycle/ rotation, you can opt for the following according to the circumstance:
Single target damage-per-second (DPS):
-
- Rallying Cry -> Flay -> Rend -> Rupture
Mob clearing (initiator/ aggressor):
-
- Rallying Cry -> Leap -> Rupture -> Flay -> Rend -> Rupture
Crowd-control (CC) immunity:
-
- Rallying Cry -> Rupture -> Flay -> Rend -> Leap
You can mix and match the skills around, if you want, to personalize your rotation based on your own preferences.
Just remember these simple guidelines:
- Flay generates Fury.
- Rend applies great Bleed but consumes Fury.
- Rupture deals area-of-effect (AOE) damage, activates all Bleed stacks on enemies instantly, but removes all the stacks afterward.
- Rallying Cry boosts movement speed, provides extra Fury generation, and gives CC immunity.
For this build, although any weapon can work with it, you should prioritize Two-Handed Slashing Weapons more, which drastically improves DPS output, Bleed stacks, and Fury accumulation.
Many Aspects can be imprinted on your gear, but focus more on these:
Bul-Kathos
-
- Leap creates an Earthquake, dealing AOE Physical Damage for 4 seconds.
- While inside the Earthquake, you receive extra Damage Reduction.
Expectant
-
- Basic skills/ attacks increase the Physical Damage of your next Core skill up to +50%.
Rapid
-
- Basic skills/ attacks receive bonus Attack Speed.
Encroaching Wrath
-
- Upon using Fury, your next Weapon Mastery skill gains improved Physical Damage.
Etc.
The Gems that you should consider slotting inside sockets are:
Weapon
-
- Amethyst (DOT)
Armour
-
- Ruby (Maximum Life) / Sapphire (Damage Reduction)
Jewellery
-
- Any, depending on your weak Resistance types
Finally, as a piece of advice, visit the Alchemist to upgrade your Potion once you reach Level 10 and Level 20. Click here for more information.
Since you’re optimizing your DPS as much as possible, you will need those heal bonuses in order to survive in the direst of instances.
If you can’t wait to try this build out already, remember to visit U7Buy to shop for cheap Diablo 4 Gold and Diablo 4 Items too!