
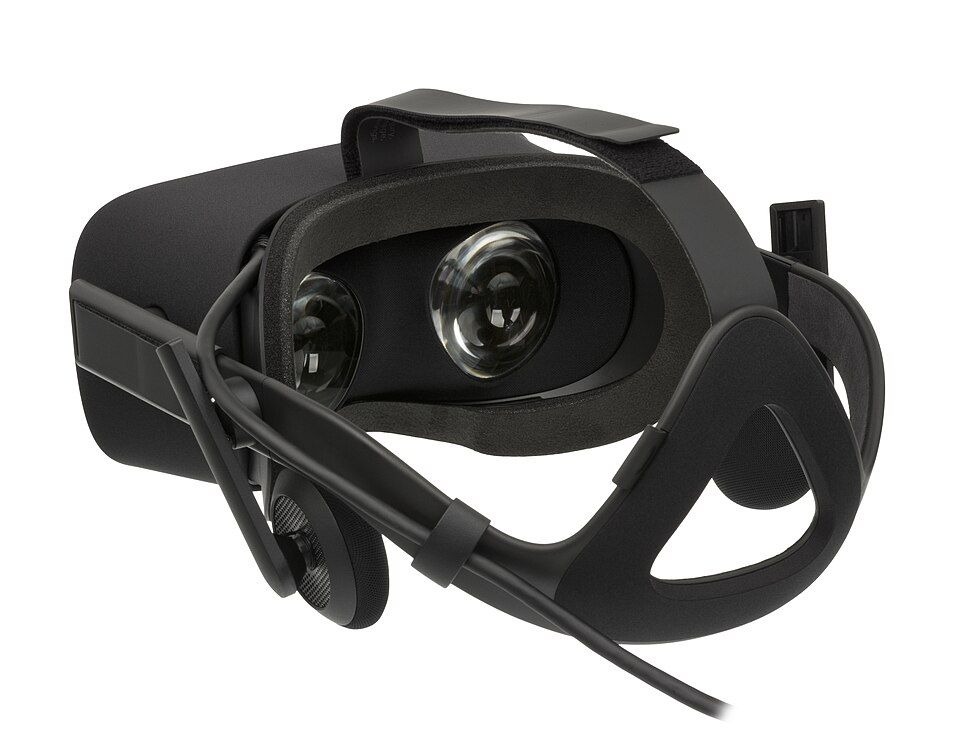
A little preparation can make a headset demonstration easier to share. The Brain Dance playback guide at https://braindancevr.com/how-to-watch-in-vr offers a general reference before checking the chosen content. Set aside time for the actual device, player and controls, so that the participant’s first few minutes are spent understanding the experience instead of watching someone search through menus.
The aim is not to squeeze every possible test into a rigid countdown. It is to give the preparation a sensible order. Choose the content, confirm that it works and decide how another person will begin and end the session. If any of those steps takes longer than expected, resolve it before inviting someone to put on the headset.
Choose one clear demonstration
Pick a short experience with an understandable starting point. A panoramic video, an interactive object and a game each need a different introduction. Decide which you are showing and what the participant should expect to do. Avoid presenting a long catalogue as the first task.
Read the creator’s description and follow any stated device or player requirements. Keep the source available so that you can return to the instructions quickly. A file with an impressive name but no clear format information is a poor choice for a smooth first demonstration.
Test the opening and the exit
Start the content yourself and check the first interaction. Confirm that the image appears as intended and that the controls needed for the demonstration respond. Then practise leaving the experience. Knowing the exit route matters just as much as knowing where the play button is.
If the application resumes where the previous viewer stopped, find its supported way to return to the beginning. Check whether that action also resets preferences. A repeatable starting point makes the handover easier to explain and prevents the next participant from arriving in the middle of an unfamiliar sequence.
Prepare the physical setup
Use the headset manufacturer’s instructions for fitting, the play area and equipment care. Arrange the space for the particular activity, rather than assuming that every demonstration has the same movement requirements. Put the controls and any necessary accessories where they can be handed over deliberately.
Give yourself time to make the recommended adjustments for another wearer. Do not treat a previous person’s fit as a universal setting. If a participant wants to stop or take a break, make that easy. A demonstration is successful when it remains under the participant’s control, regardless of its planned length.
Reduce avoidable interruptions
Check which account or application view will be visible when the session begins. Close unrelated material that you do not intend to share, using the normal controls. If a spectator display is involved, inspect it too. It may reveal menus or desktop content that the wearer does not see in the same way.
Confirm that any necessary downloads or ordinary setup steps are complete. Follow the device’s guidance on power and connection requirements. Avoid starting an update or changing several settings immediately before the handover unless the official setup process requires it.
Explain only the first useful actions
A concise introduction should name the type of experience, the first action and the way to stop. Demonstrate the relevant control before the headset is in place. Ask the participant to describe any unclear view or unexpected behaviour, instead of trying to infer everything from their movements.
Let the experience provide its own instructions where they are adequate. Continuous commentary can make it harder to notice what the creator intended. Save broader explanations for afterward, when the participant can ask questions without dividing attention between a new control scheme and a conversation.
Keep one note for next time
After the session, write down the adjustment that made the biggest practical difference. Perhaps a menu needed resetting, a description was unclear or a shorter clip worked better as an introduction. A small observation is easier to use than an elaborate checklist that nobody revisits.
Over time, these notes produce a reliable routine for your particular setup. The sequence stays simple: choose, test, prepare and explain. That preparation leaves more room for the interesting part of sharing VR—the participant’s own response to a different way of seeing and interacting with content.